Hello lovely people,
Happy Friday everyone and I'm here with my Dies to Die For DT card.
I decided it was time to try a twist and pop card. I love paper engineering and fancy fold designs so I checked out a few templates and tutorials and then made my own version.
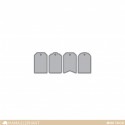
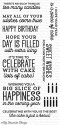
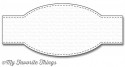
I kept the front fairly plain as the inside is hopefully going to add the wow factor! I did get to use my fab new label sentiment strip die though ;-)

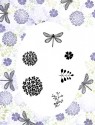
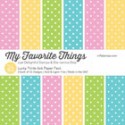
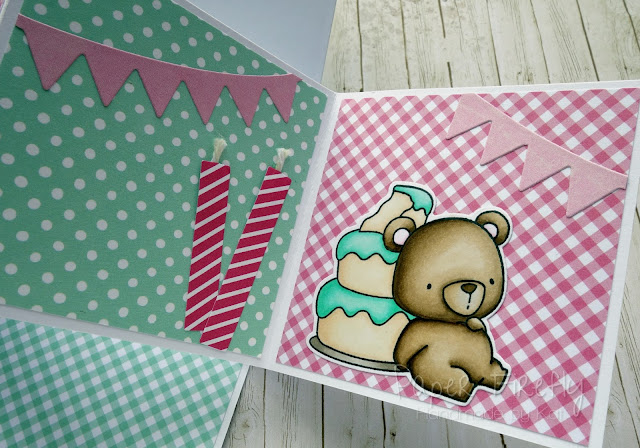
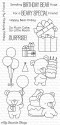
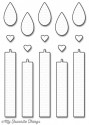
I made my version with square panels in the centre (because I just prefer to design on squares!) and I've decorated them with birthday themed bits and pieces.

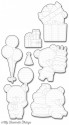
Here's a closer shot of the centre panels;

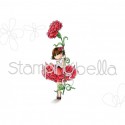
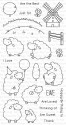
Now, cute bears and cake was always going to be a winning combination for me so I just had to add these little MFT bears to my collection!

Here's the other little cutie...I think he may have had too much cake - lol!

If I've tempted you with any of the lovely supplies I've used then you can go straight to the individual products via the thumbnails at the end of my post or just pop over to Dies to Die For and have a little browse around!
Thanks for visiting and I really appreciate any comments that you leave,

Copic colours;
Bears: E41/42/43/44 & R81/000/0000 for ears
Cake: YR30/E50/E30
Pink icing: R81/83/85
Aqua icing: BG10/11/32/34
Plates: W1/3
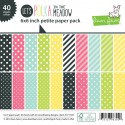
Lovely things I've used from Dies to Die For;
Bears: E41/42/43/44 & R81/000/0000 for ears
Cake: YR30/E50/E30
Pink icing: R81/83/85
Aqua icing: BG10/11/32/34
Plates: W1/3
Lovely things I've used from Dies to Die For;
Other ingredients;
Banner - from stash
Banner - from stash